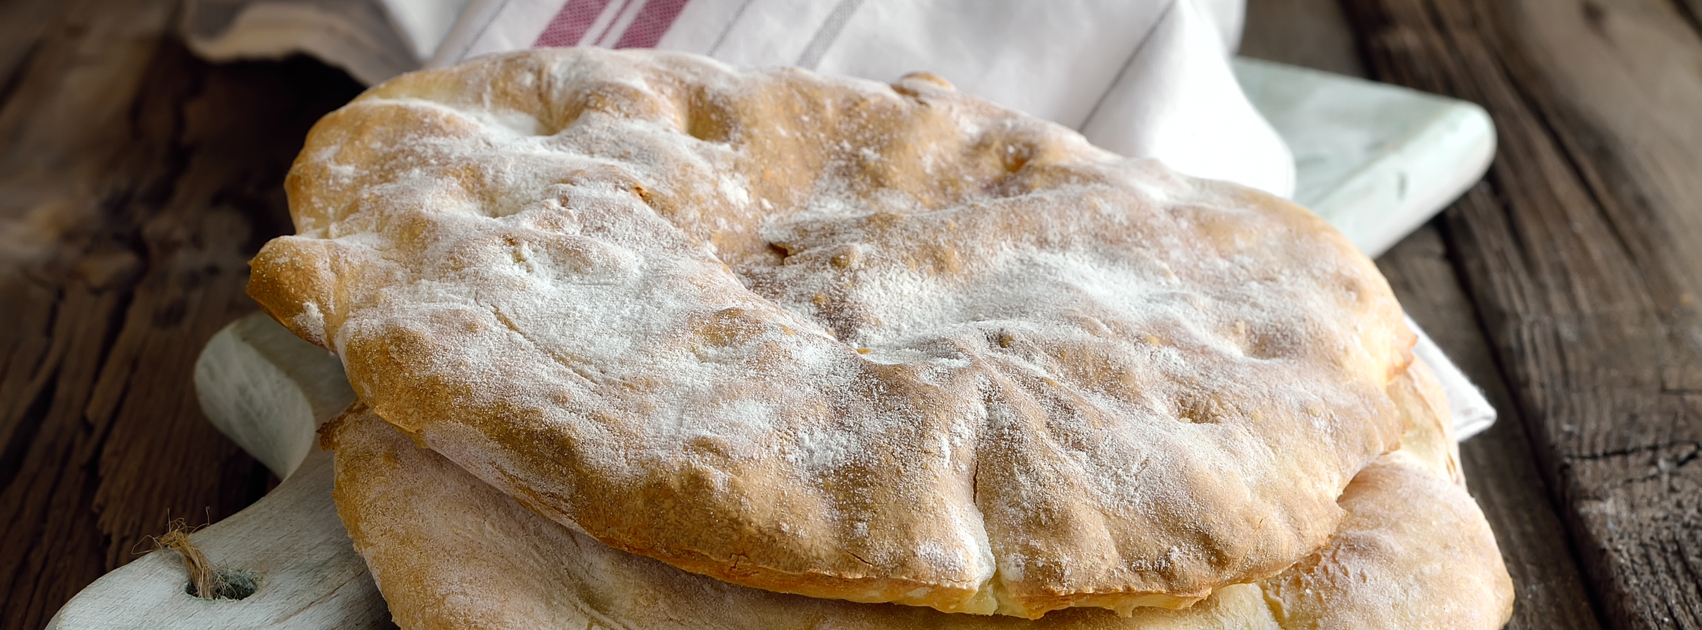
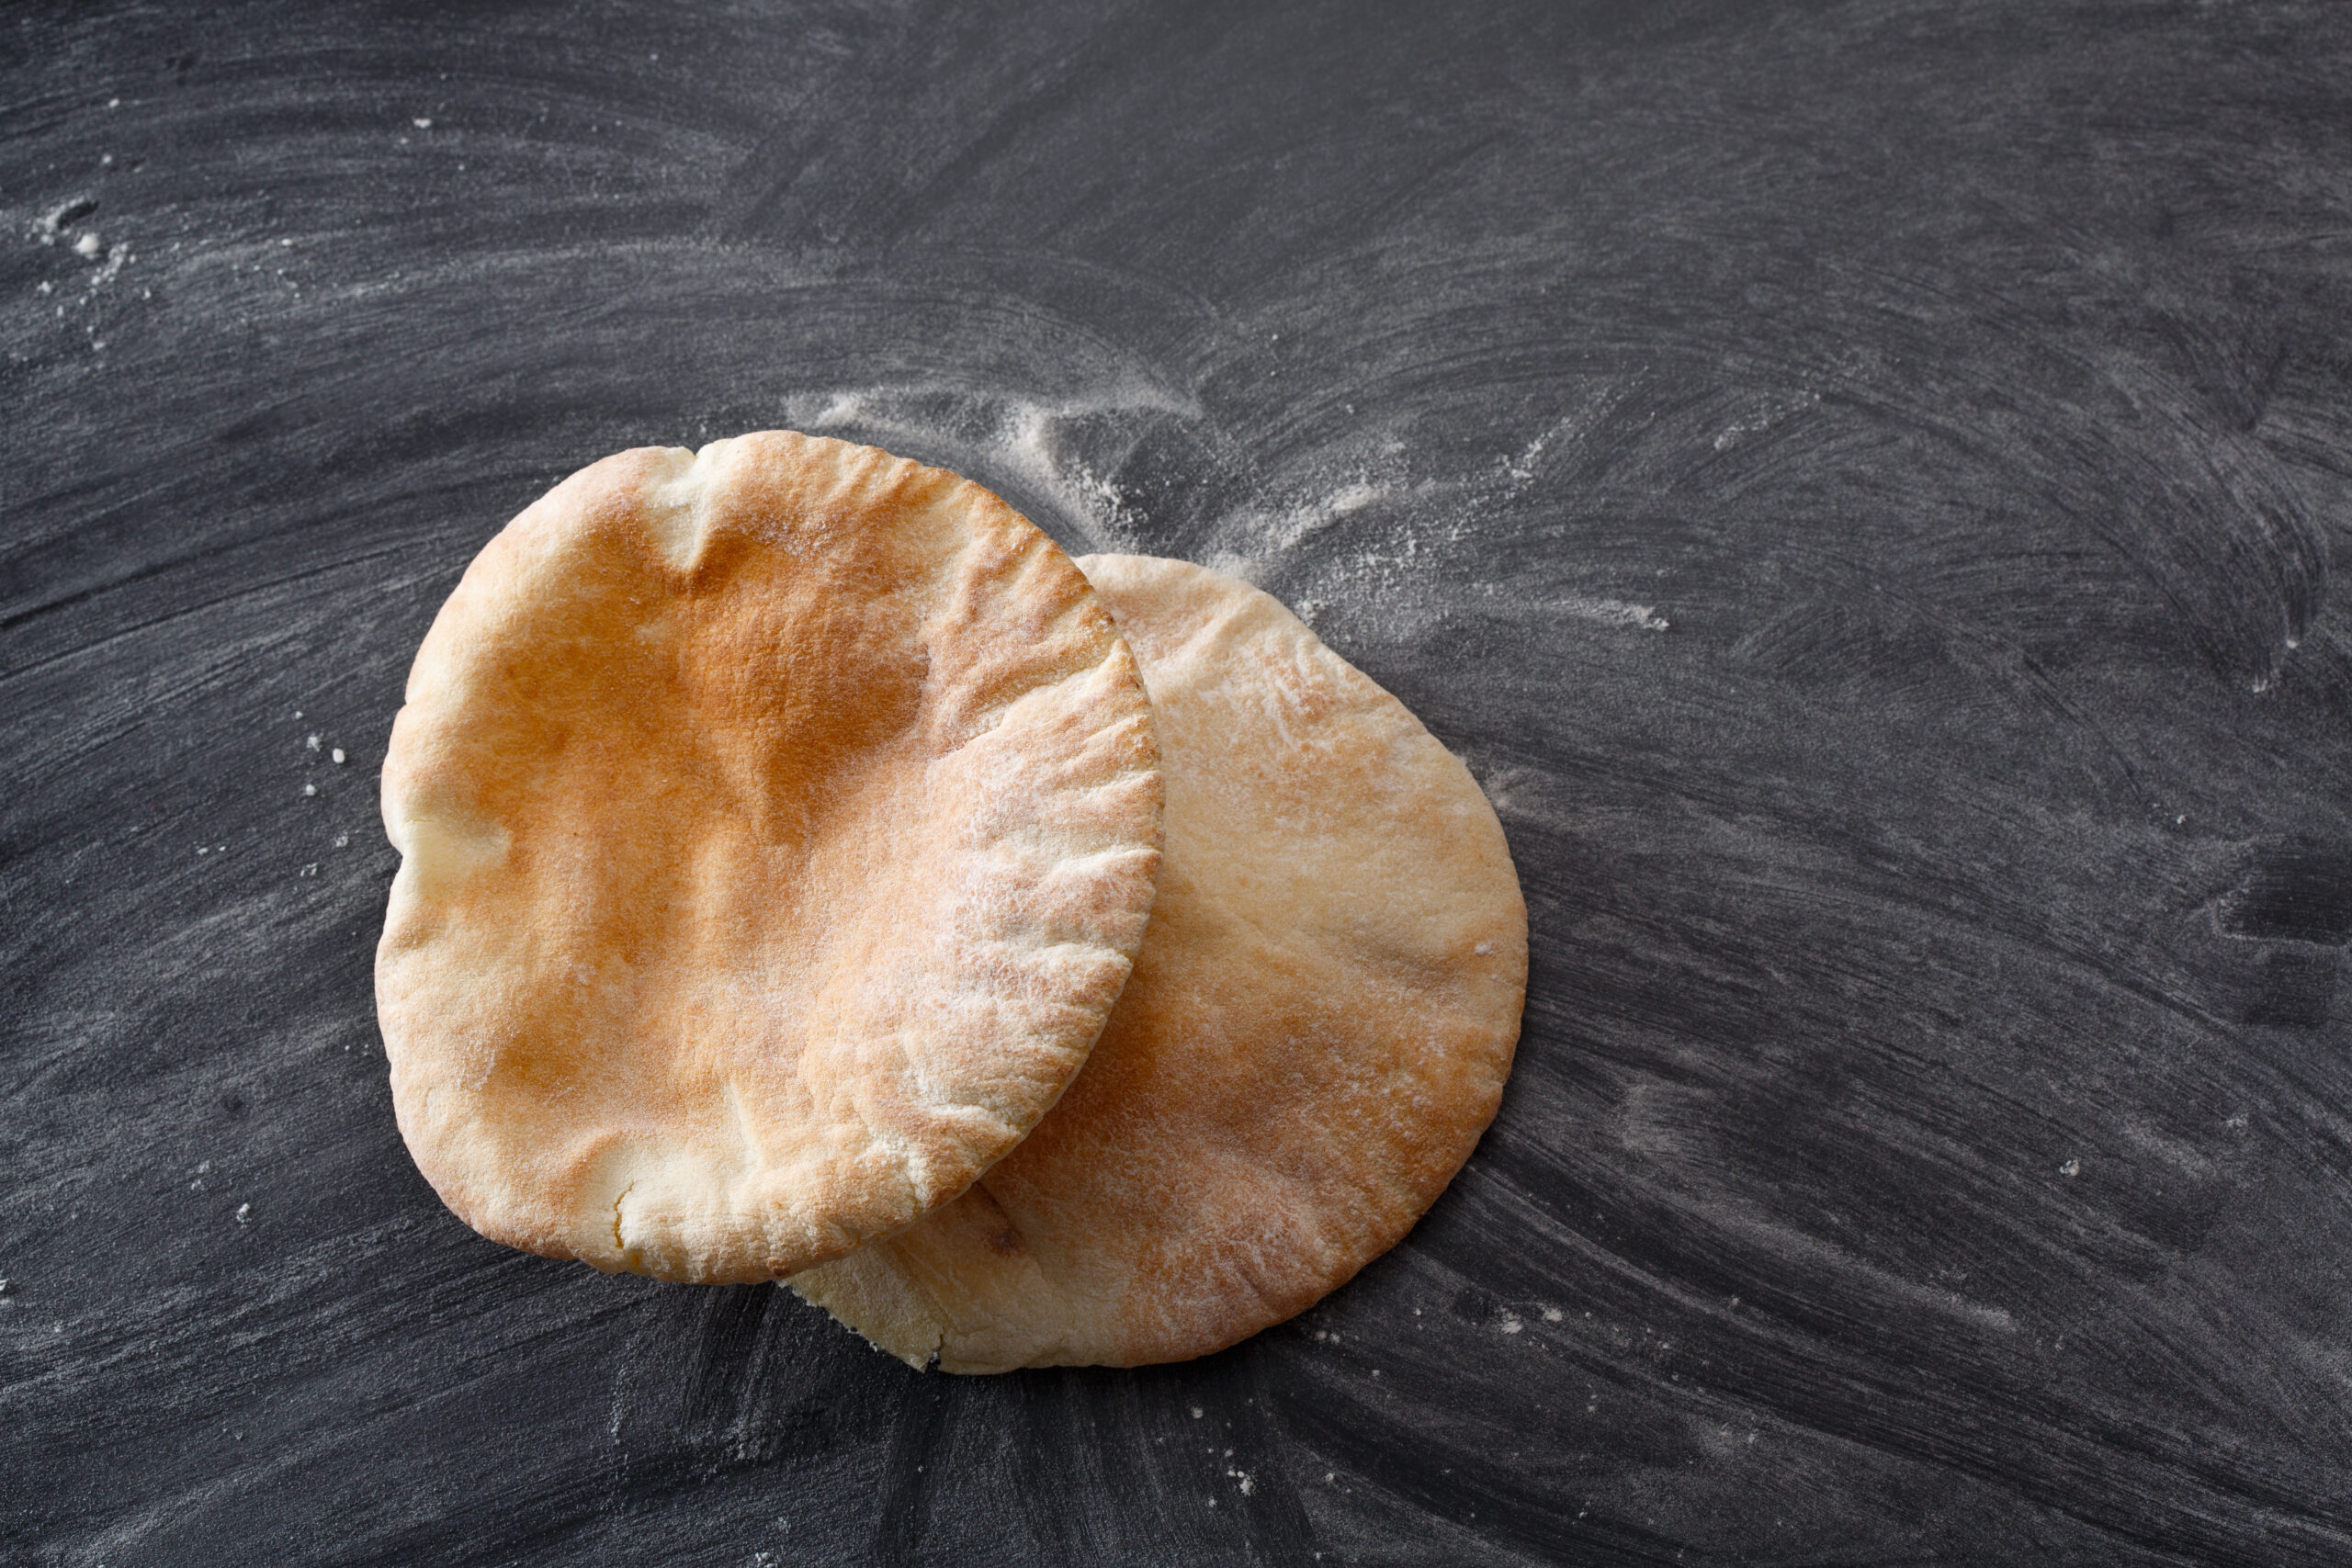
You have heard the expression, “That's the best thing since sliced bread.” Well, this round, multipurpose pita bread puts that boring, square-sliced bread to the test. This ancient flatbread is used as both a tool to deliver the best hummus to your mouth and a satisfying bite all on its own.
It is believed that pita bread was first used by the Bedouins—people who have historically inhabited the desert areas. Today there are still Bedouin settlements within the Negev Desert in Israel. They are also believed to have used pita bread as a way to trade goods as they traveled.
Originally, pita bread was made in a backyard oven or stove. It was a mix of older dough that had sat and collected yeast, and freshly made dough. Today, the pitas that you find in the store—while they might be convenient—do not have quite the same taste as traditional or even homemade pita bread.
The perfect pita bread recipe may take time and patience to create. However, as Theodore Roosevelt once said, “Nothing in the world is worth having or worth doing unless it means effort, pain, difficulty…”
Okay, the perfect pita bread recipe might not require moving mountains to get to the finished product. It certainly isn't painful to make, but the extra time and effort needed as opposed to picking some up at your local store can be well worth it. Especially if you can get your kids and grandkids involved in the fun!
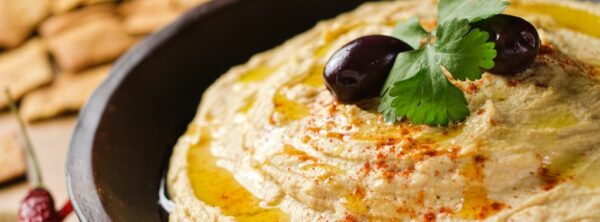
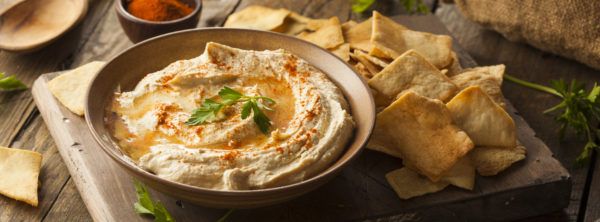
Fill your finished, fluffy pita pocket with anything from steak, chicken, lamb, or falafel to fresh vegetables. Or, you can use it as a scoop to easily carry the freshly made hummus from the dish to your mouth. Or simply dip it in rich extra virgin olive oil, such as King’s Valley Extra Virgin Olive Oil. The possibilities are endless with pita bread.

The Perfect Pita Bread Recipe
Ingredients
- 1 teaspoon sugar
- 1 1/4 teaspoon salt
- 1 packet dry yeast, (1/4 oz)
- 1 1/2 cup warm water
- 3 1/2 cups flour
Directions
Step 1. Dissolve yeast in a 1/2 cup of warm water, add the teaspoon of sugar, and stir. Let the yeast mixture stand for 10 minutes until frothy.
Step 2. In a large bowl, combine the flour and salt. Mix well using your hands or a wooden spoon. Make a well in the center of your flour and salt mixture, then pour the yeast and water mixture into it. Then add about 1/2 of the remaining warm water. Mix well and then gradually add more water, just a few tablespoons at a time. The dough will be sticky until it is mixed well. Continue until it is firm and stretchy. It will be slightly sticky.
Step 3. Lightly flour a pastry baking mat, or other working surface, and knead the dough on the floured surface for about 10 minutes. Then return the smooth, kneaded dough to the bowl and cover. Place in a warm area for about 2 to 3 hours for it to rise.
*Note, if you are using rapid-rise yeast, it will take much less time—around 1 to 1 ½ hours.
Step 4. When your dough has nearly doubled in size, push it down and lightly knead it again. Roll the dough into a rope-like shape and then pinch off handfuls to form into balls. Take the pinched-off pieces of dough and roll them into balls about the size of an orange.
Step 5. BEFORE YOU PUT THE DOUGH IN THE OVEN… Place a baking stone, baking sheet, or pizza stone in the oven on the lowest rack and preheat your oven to 450 degrees. Pita bread is traditionally placed in bread ovens, where the bottoms are very hot. Placing your dough on the bottom rack can give your pita bread the same effect.
Step 6. Place the balls of dough on a lightly floured surface a few inches apart, then cover and let rest for another 10 to 15 minutes. Then, on your lightly floured working surface, squash the ball flat and round with your hand and then roll out. Flip, turn, and roll out. Repeat until you achieve the desired thickness and size. The typical pita is less than 1/4 inch and 5 to 6 inches across.
Step 7. Cover again and set aside for another 10 minutes.
Step 8. Remove the hot stone or baking sheet from the oven and transfer the dough onto it. Place in oven for about 4 to 5 minutes until the bread has “fluffed” up and browned slightly on the top and edges. The cook time will vary depending on the thickness and moisture in the dough.
Allow it to cool and flatten. This bread can be stored in plastic bags and refrigerated for up to one week.
Once cooled, the perfect pita bread is ready to enjoy! Fill it with your favorite meat or falafel. Dip it into the King’s Valley Israeli Hummus, or baba ghanoush and serve it up at your next family get-together.
Let us know how this perfect pita bread recipe works for you HERE!
Want more recipes…?