


One of our favorite family traditions is cooking together. We especially love Italian food… with a last name like Marcellino, how could we NOT?!


Every time we walk by the oven with little Ariebella she says, “Pea-sa! Pea-sa!”
I think she is just saying what we are all thinking!
You can see her here with “Saba” checking the temperature.
Our affinity for the bread oven actually began when the Marcellino family built an incredible oven in their home over 10 years ago. We learned a lot about pizza with some serious trial and error! All said to say… we smoked out the house more than once… and even burned a few crusts.
I have a very clear memory of walking out of our bedroom door one morning and finding my husband, Paul, with a blow dryer on full blast and a long pipe trying to “encourage” the fire after a long night of not being attended. Face. Palm. Coffee.
Needless to say—the boys now know how to work the oven… and they can maintain it for days!


The picture LEFT is of me and my two sisters-in-laws in 2007 I think (yikes!). You can’t really see the oven behind us, but you can get an idea! Alyssa (on the left), is married to Dustin and is now a beautiful momma to two girls and two boys and Michaela Rose (center) is Paul’s baby sister. She is now 21-years-old and getting straight A’s in college! I am on the right.
Finding the Perfect Dough…
Finding the perfect dough recipe was also a bit of trial and error. It seems like we tried something new every year up until two years ago when we tried the below Pizza Crust recipe from “The New Best Recipe” by Cooks Illustrated. This cookbook was introduced to the family by my sister-in-law, Morgan. I think she gifted it to all of us and I am so glad she did because it explains the basics and the science behind the recipes… and if you actually take the time to read them you will be glad you did! I love knowing what was tested, what worked best, and what didn't work at all. (Note: I am pretty sure the cookbook is no longer in print, but you can find it in re-sale shops on Amazon.)
This crust recipe was a winner for our family, and when Dad built his outdoor pizza oven (after a lot of encouragement from Paul and myself) we have used it time and again! It is officially my go-to pizza crust.
The recipe, below includes my notes in bold!
Pizza Dough
Makes enough for 3 medium pizzas.
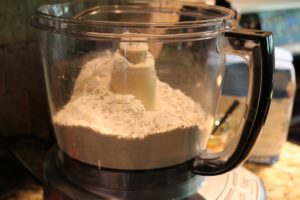
A food processor works best for this recipe, however, it needs to be a larger (at least 11 cup) capacity. This recipe can also be kneaded by hand or by using a stand mixer. You can also use unbleached, all-purpose flour in a pinch, but the crust will be less crisp. If you want to make the pizza dough in the morning and let it rise on the counter all day, decrease the yeast to ½ teaspoon and let the covered dough rise at room temperature (68 degrees) until doubled in size, about 8 hrs. You can prolong the rising time even further by refrigerating the dough for up to 16 hours and then letting it rise until doubled, which will take 6-8 hours.
I use a food processor. I have never tried anything else, so I can’t vouch for the other methods. We also use organic bread flour and prefer either the all day rise or the refrigerated method. It seems to allow the dough to become more flavorful—almost with a faint sourdough flavor. If you can—let it sit!
Ingredients:
- ½ cup warm water (about 110 degrees) (in our microwave about 25 seconds will do it)
- 1 envelope (about 2 ¼ teaspoons) instant yeast
- 1¼ cups water, at room temperature
- 2 tablespoons extra-virgin olive oil (preferably oil from My Olive Tree!)
- 4 cups (22 ounces) bread flour, plus more for dusting the work surface and hands
- 1½ teaspoons salt
- Olive oil or nonstick cooking spray for oiling the bowl
Instructions:

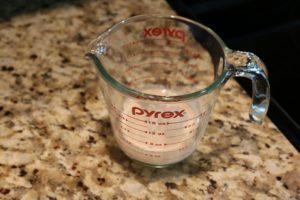
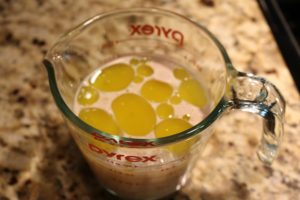
1). Measure the warm water into a 2-cup liquid measuring cup. Sprinkle in the yeast and let stand until the yeast dissolves and swells, about 5 minutes. (We sprinkle just a tiny pinch of sugar in as well. Tiny!) Add the room-temperature water and oil and stir to combine.
2). Process the flour and salt in a large food processor, pulsing to combine. Continue pulsing while pouring the liquid ingredients (holding back a few tablespoons) through the feed tube. If the dough does not readily form into a ball, add the remaining liquid and continue to pulse until a ball forms. Process until the dough is smooth and elastic, about 30 seconds longer.
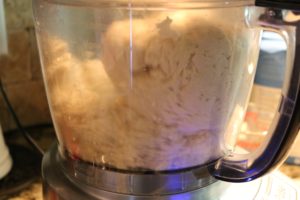
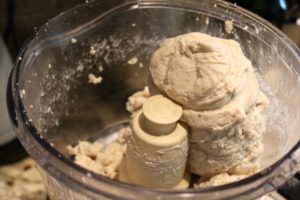

3). The dough will be a bit tacky, so use a rubber spatula to turn it out onto a lightly floured work surface. Knead by hand for a few strokes to form a smooth, round ball. Put the dough in a deep oiled bowl (olive oil) and cover with plastic wrap. Let rise until doubled in size, 1½ to 2 hours. Press the dough to deflate; it is now ready to use.
My Own Personal Tips: When the dough is ready to use, this method changed my life.. We used to use a rolling pin and roll, roll, roll dough for pie after pie after pie. It was a workout. But! One day I actually read the full instructions and they gave this amazing tip that works like a charm:

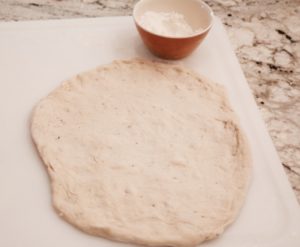
To stretch dough to its maximum diameter, let it rest once or twice during the shaping process. Once you feel some resistance, cover the dough with a damp cloth and wait five minutes before going at it again. Fingertips and hands generally do a better job of stretching dough than a rolling pin, which presses air out of the risen dough and makes it tough.
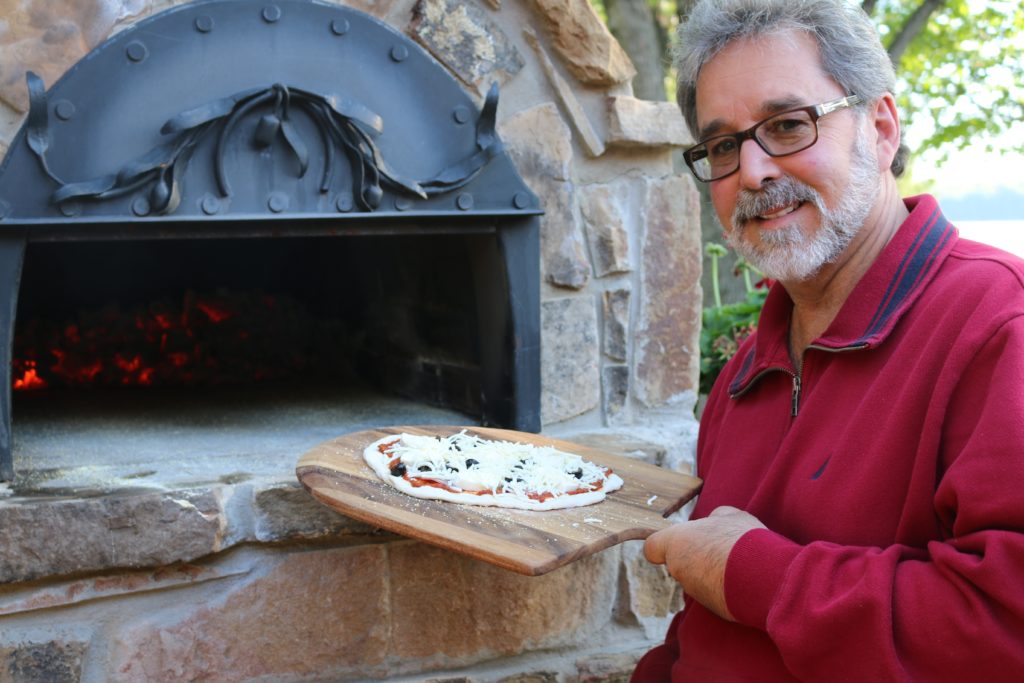
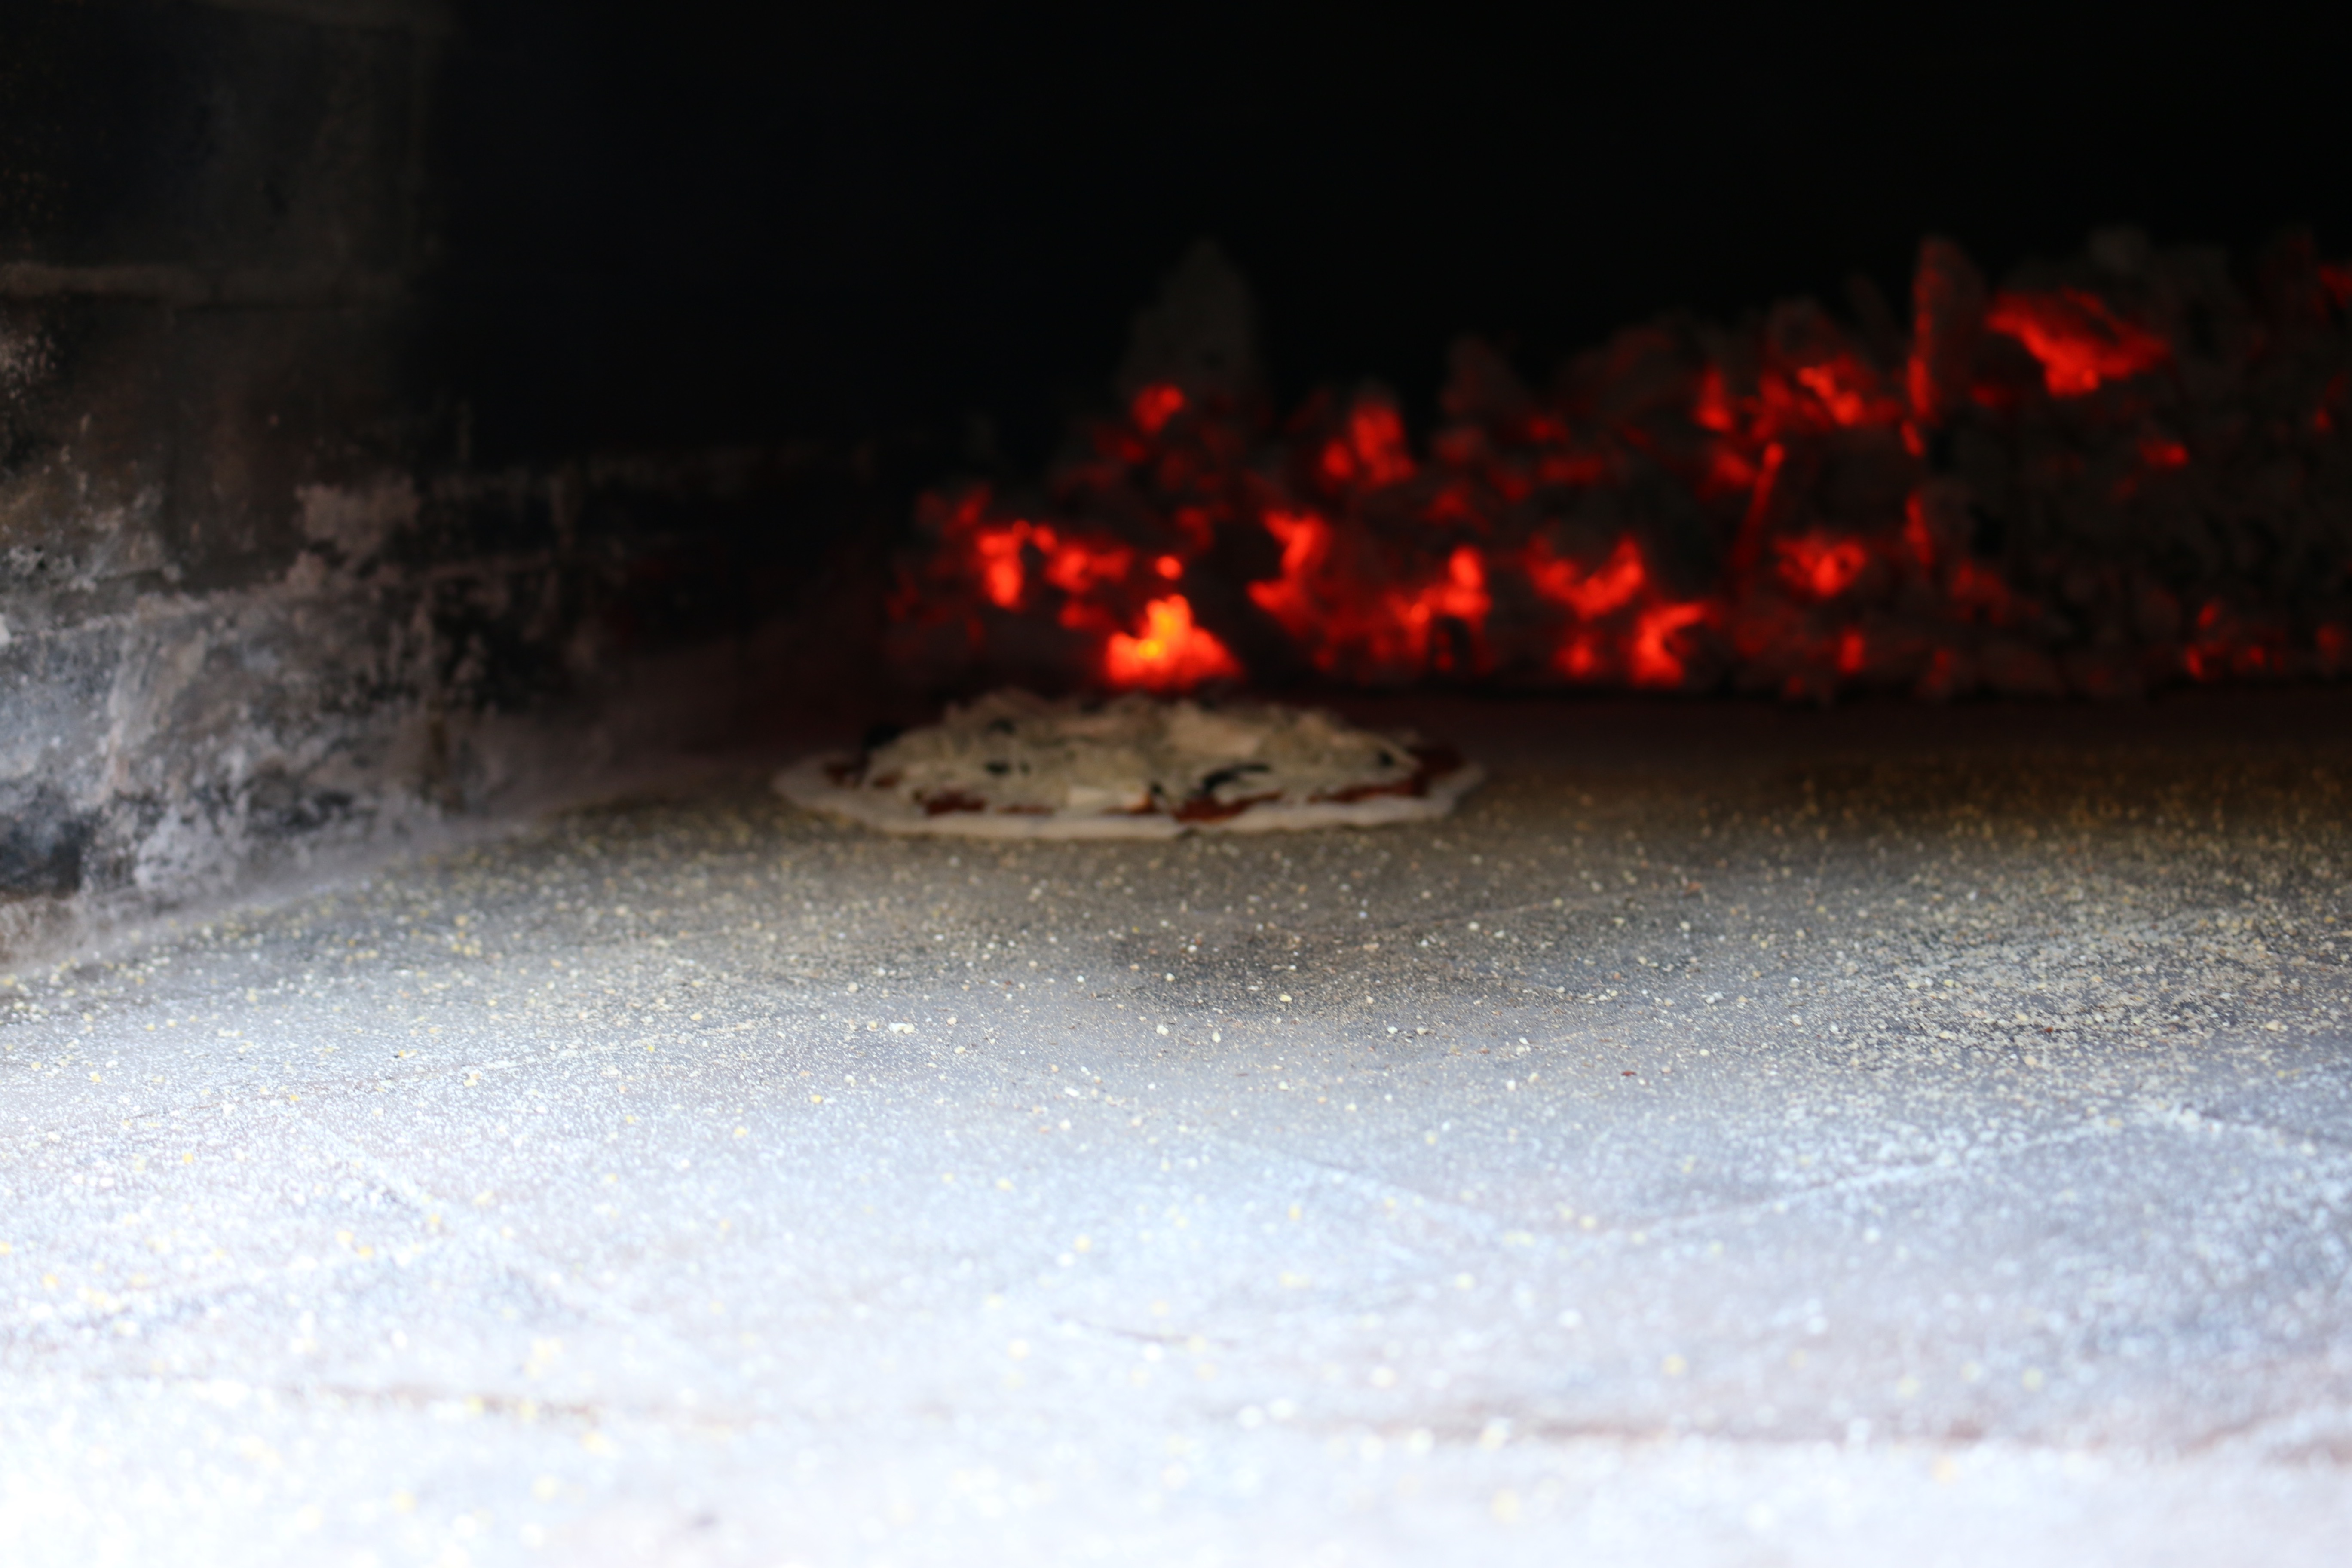
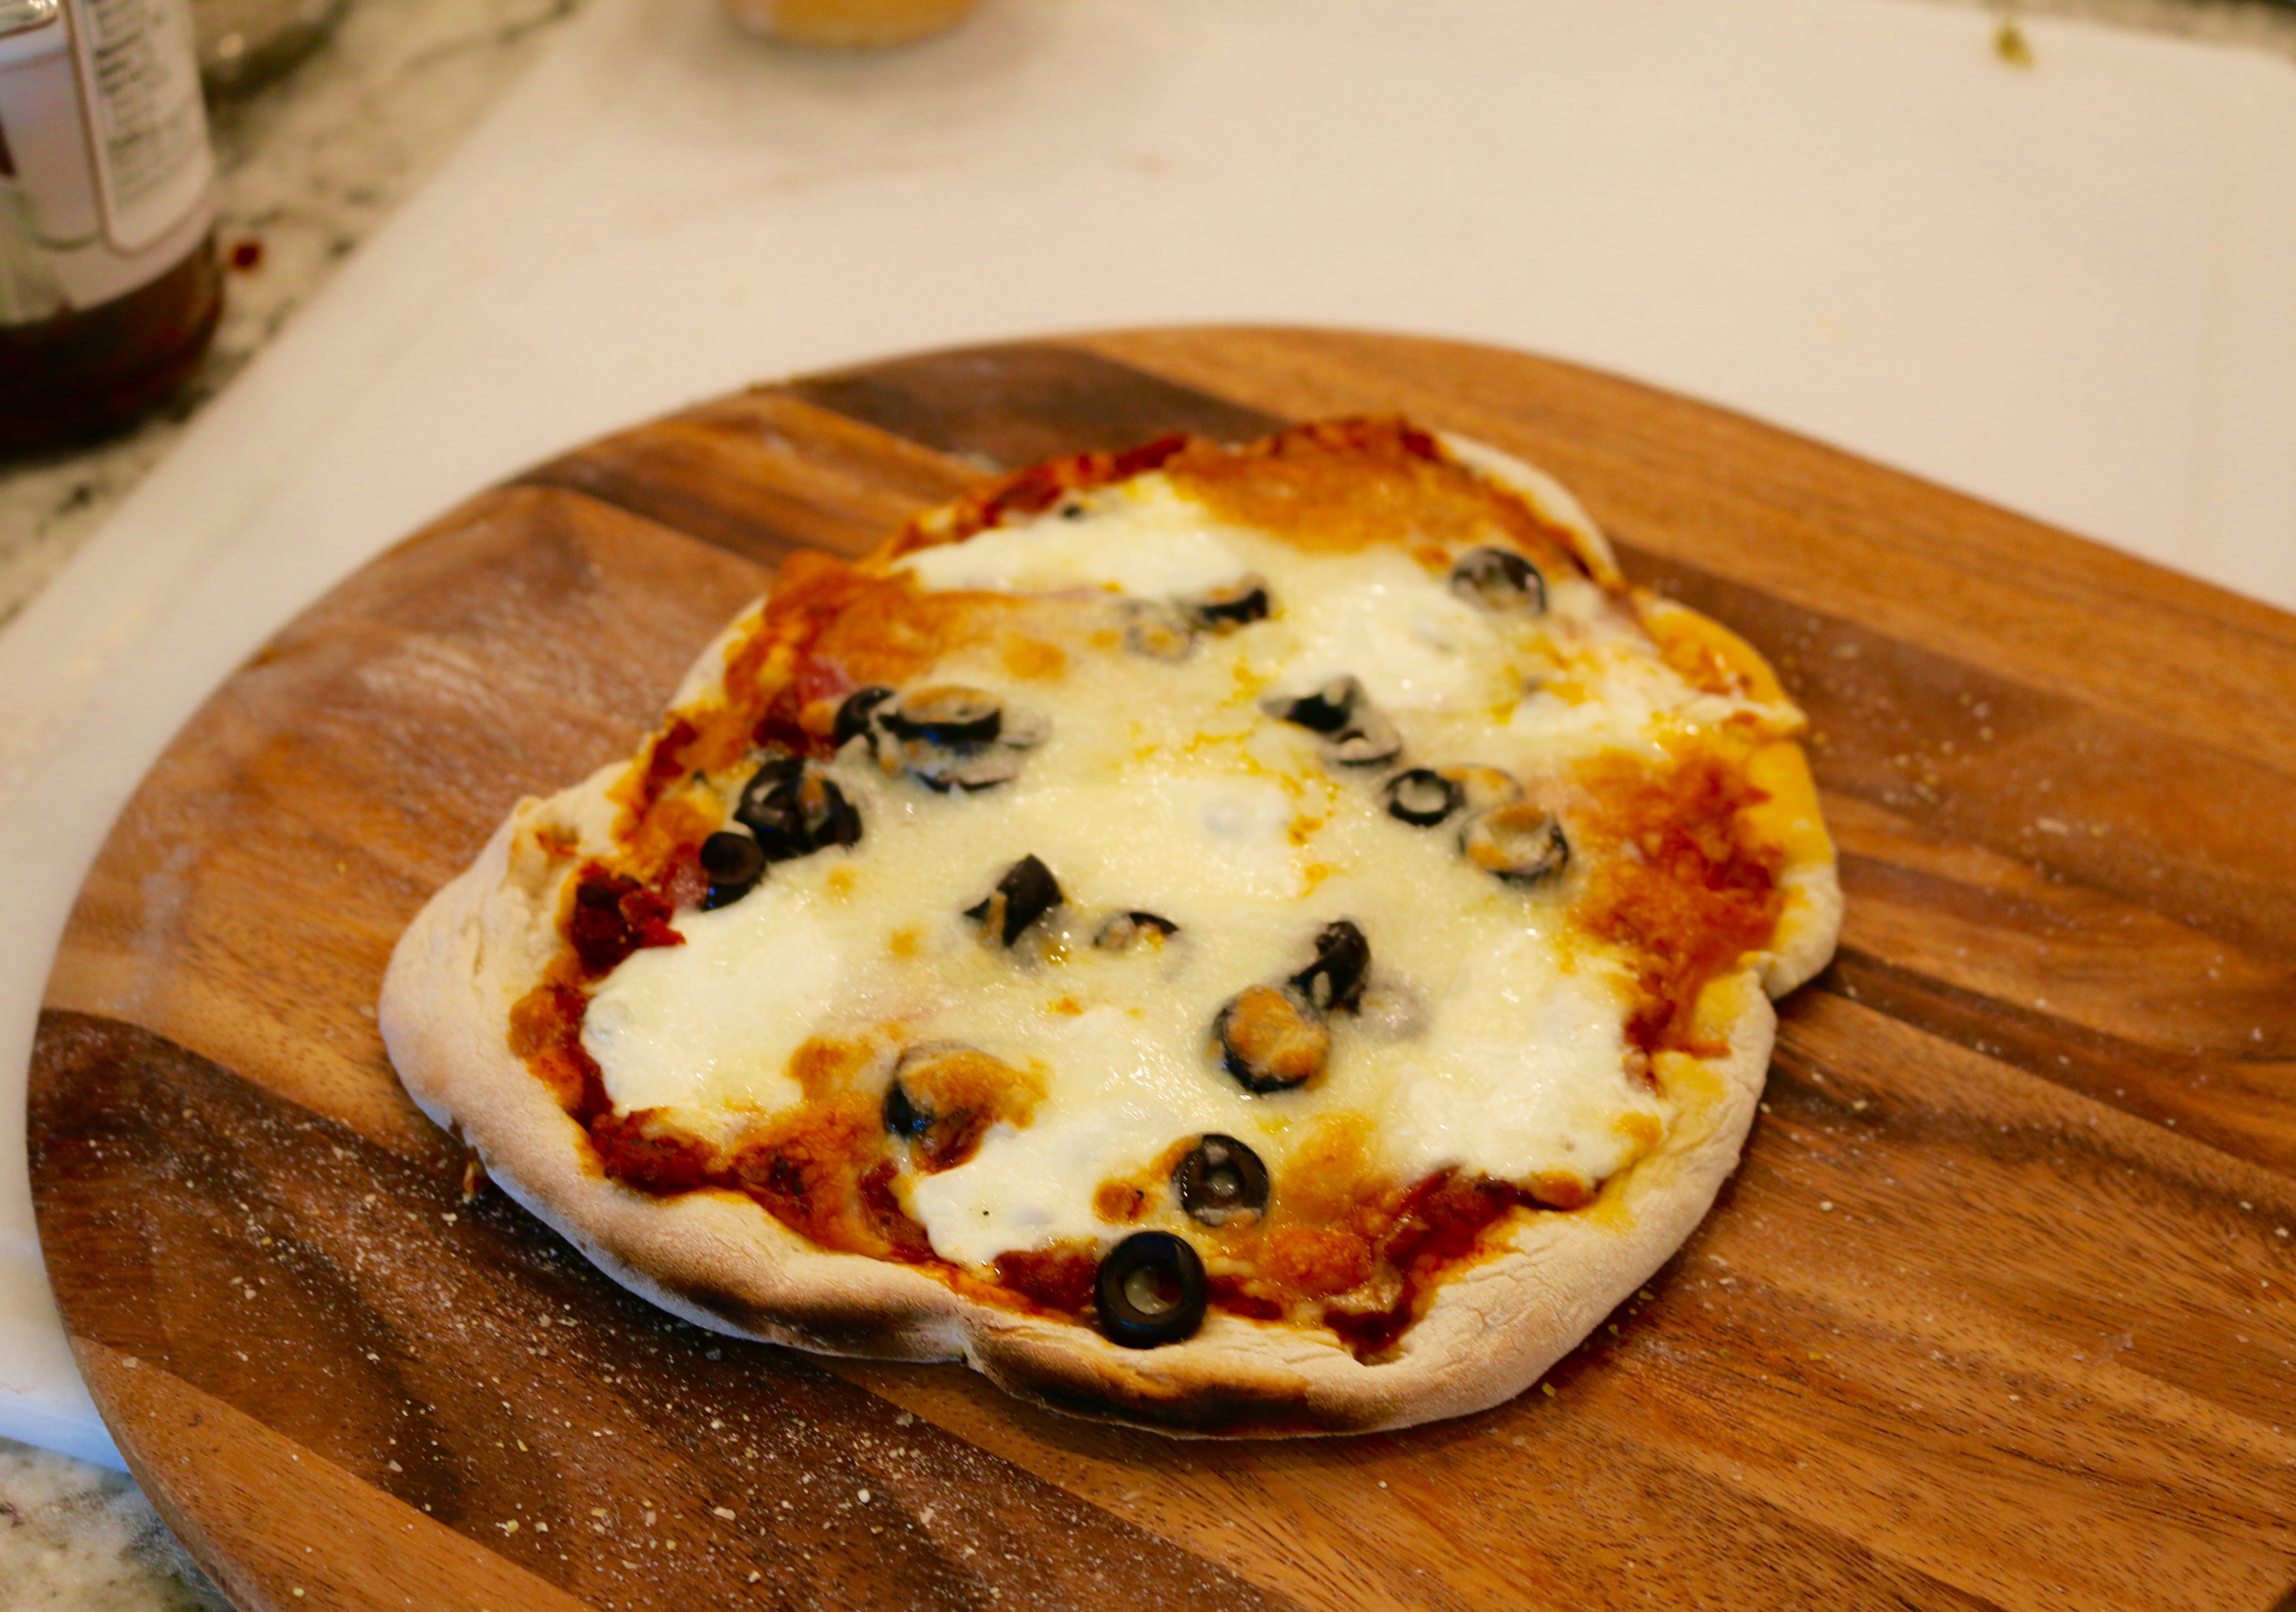
At our house when the dough is finished we top a wooden pizza peel/paddle with cornmeal (so that the dough doesn’t stick), add the stretched dough, and then we layer the pizza with all sorts of various sauces and toppings and pop it in the oven. You may not have a pizza oven but a stone will work, as well—just make sure you have cornmeal on the surface so it doesn’t stick.

Forget frozen pizza or take-out. Homemade pizza will change your life! There is nothing quite like the simple fresh goodness that has all of us chanting… “Pea-sa! Pea-sa!”

Buon appetito!